

.JPG) es.wikipedia.org Here's a step-by-step guide on how to build an Optimist sailboat using a stitch-and-glue method. This process requires patience, precision, and a good understanding of woodworking.
es.wikipedia.org Here's a step-by-step guide on how to build an Optimist sailboat using a stitch-and-glue method. This process requires patience, precision, and a good understanding of woodworking. Introduction: Building Your Own Optimist Sailboat
Building an Optimist sailboat is a rewarding project for experienced woodworkers and ambitious beginners alike. The stitch-and-glue method simplifies the construction process, making it accessible. This guide provides a detailed breakdown of the steps involved. Remember to always prioritize safety by using proper protective gear and working in a well-ventilated area.
Step 1: Gathering Materials and Tools
Before starting, ensure you have all the necessary materials and tools. This will prevent interruptions during the build process. Materials: Marine-grade plywood (4mm or 6mm), epoxy resin and hardener, fiberglass tape, copper wire (for stitching), wood flour or epoxy filler, varnish or paint, sandpaper (various grits), rudder and daggerboard hardware, sail, mast, boom, and associated rigging. Tools: Measuring tape, pencil, jigsaw or circular saw, drill, wire cutters, clamps, mixing sticks and containers for epoxy, brushes, sanding block, safety glasses, and gloves.
Step 2: Cutting the Plywood Panels
Using the Optimist boat plans as a guide, carefully measure and cut the plywood panels for the hull, bottom, and transom. Accuracy is crucial at this stage. Consider making templates to ensure consistent cuts. Double-check all measurements against the plans before cutting. Ensure you have the correct dimensions for each panel based on the plans you're using. Label each panel clearly after cutting to avoid confusion later on.
Step 3: Stitching the Hull Panels Together
This step involves temporarily joining the hull panels using copper wire. Drill small holes along the edges of the panels, approximately 4-6 inches apart. Thread the copper wire through these holes and twist the ends together to draw the panels together. Ensure the seams are aligned properly and that the hull takes its correct shape. Use clamps to hold the panels in place while stitching. Check the overall shape frequently against the plans. Make sure the bow and stern are aligned correctly.
Step 4: Applying Epoxy to the Seams (Inside)
Once the hull is stitched together, apply a thickened epoxy mixture to the inside seams. This will create a strong and watertight bond. Mix the epoxy resin and hardener according to the manufacturer's instructions. Add wood flour or epoxy filler to thicken the mixture to a peanut butter-like consistency. Apply the thickened epoxy fillet along the inside of each seam. Use a rounded tool to create a smooth and consistent fillet. Let the epoxy cure completely according to the manufacturer's instructions.
Step 5: Applying Fiberglass Tape to the Seams (Inside)
After the epoxy has cured, apply fiberglass tape over the epoxy fillets on the inside seams. This adds extra strength and durability. Cut the fiberglass tape to the appropriate length. Wet out the fiberglass tape with epoxy resin. Ensure the tape is fully saturated with epoxy. Apply the wetted-out tape over the epoxy fillet, pressing it firmly into place. Remove any air bubbles. Let the epoxy cure completely.
Step 6: Removing the Stitching Wire and Applying Epoxy to the Seams (Outside)
Once the epoxy and fiberglass tape have cured on the inside, carefully remove the copper stitching wire. Use wire cutters to snip the wires close to the plywood. Fill the small holes left by the wire with epoxy filler. Sand the filled holes smooth. Apply thickened epoxy to the outside seams, just as you did on the inside. Fair the seams to create a smooth transition.
Step 7: Applying Fiberglass Tape to the Seams (Outside)
Apply fiberglass tape over the epoxy fillets on the outside seams, similar to the inside. Wet out the fiberglass tape with epoxy resin. Ensure the tape is fully saturated with epoxy. Apply the wetted-out tape over the epoxy fillet, pressing it firmly into place. Remove any air bubbles. Let the epoxy cure completely.
Step 8: Installing the Transom and Internal Structures
Attach the transom to the stern of the hull using epoxy and screws or clamps. Install any internal frames, bulkheads, or buoyancy compartments according to the plans. Ensure all components are properly aligned and securely fastened. Use thickened epoxy to bond these components to the hull. Let the epoxy cure completely.
Step 9: Sanding and Fairing the Hull
Sand the entire hull to create a smooth and fair surface for painting or varnishing. Start with a coarse grit sandpaper and gradually move to finer grits. Pay particular attention to the seams and any areas where epoxy has been applied. Use a sanding block to ensure a consistent surface. Remove all dust and debris after sanding.
Step 10: Painting or Varnishing the Hull
Apply several coats of marine-grade varnish or paint to protect the hull from the elements. Follow the manufacturer's instructions for application. Sand lightly between coats to ensure a smooth finish. Allow each coat to dry completely before applying the next. Choose a color scheme that you find visually appealing.
Step 11: Installing Hardware and Rigging
Install the rudder, daggerboard, and associated hardware. Attach the mast, boom, and sail. Rig the boat according to the plans. Ensure all hardware is securely fastened and that the rigging is properly adjusted. Test the operation of all components before launching the boat.
Conclusion: Enjoy Your New Optimist Sailboat!
Congratulations! You have successfully built your own Optimist sailboat. Take it out on the water and enjoy the fruits of your labor. Remember to always practice safe sailing techniques and to inspect your boat regularly for any signs of wear or damage. The build journey might have been long but the reward of sailing your own creation is unmatched.
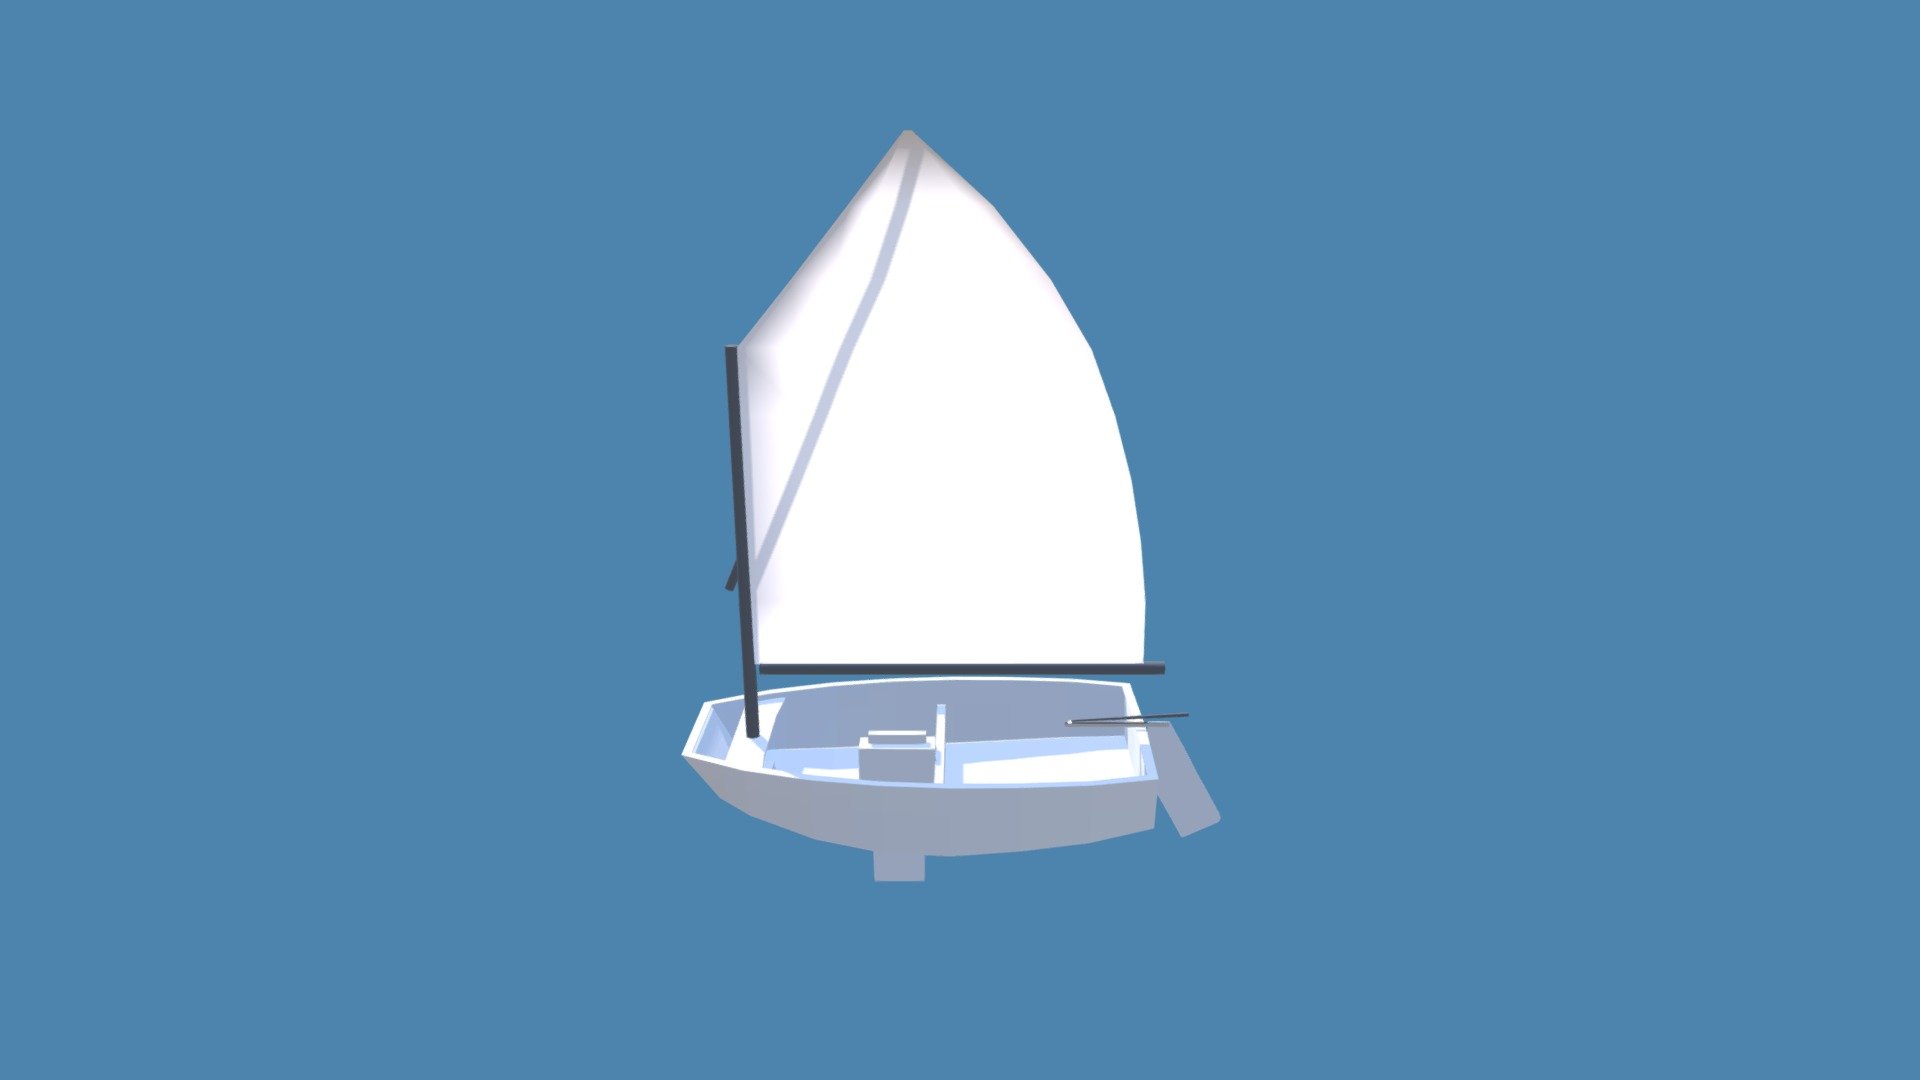
Optimist
es.wikipedia.org Optimist Sailboat
 sketchfab.com
 Optimist (sang)
 no.wikipedia.org


0 komentar:
Posting Komentar